|
Made a start on sanding the decks - I plan to keep all the dusty sanding work in the shed and bring the boat back into the warmer, cleaner kitchen to paint / varnish
0 Comments
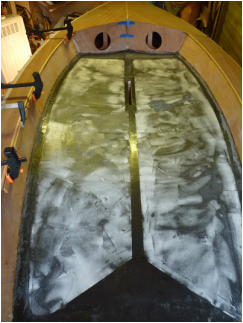
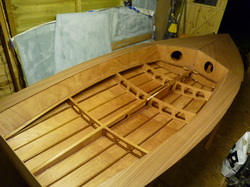
So glad to get that job done. Had to buy more clamps, make wedges and still ended up using more screws than I'd like, it's not the best job I've done, but it's on . Also did some light filling of the floor panels in prep for painting
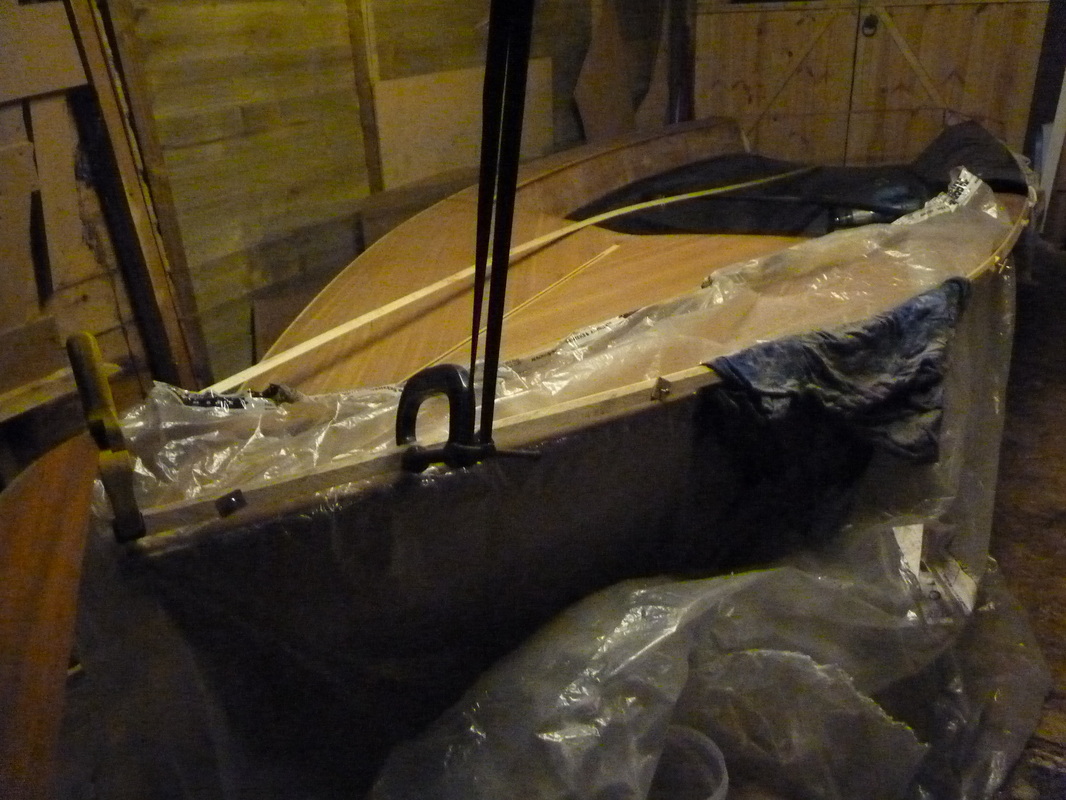
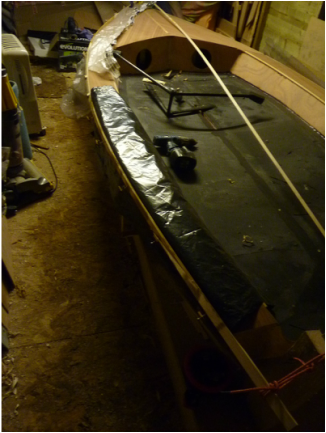
After several attempts to steam the stbd gunwhale, I've been putting off the port side. Ran out of room in the kitchen so put the hull back in the shed and tried wrapping the gunwhales in rags soaked in boiling water to set the curve, I'll find out in a day or so whether it works.
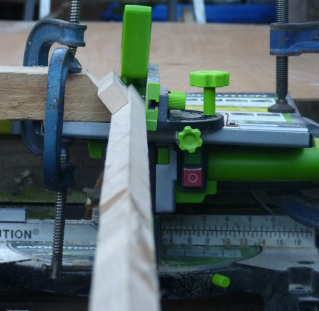
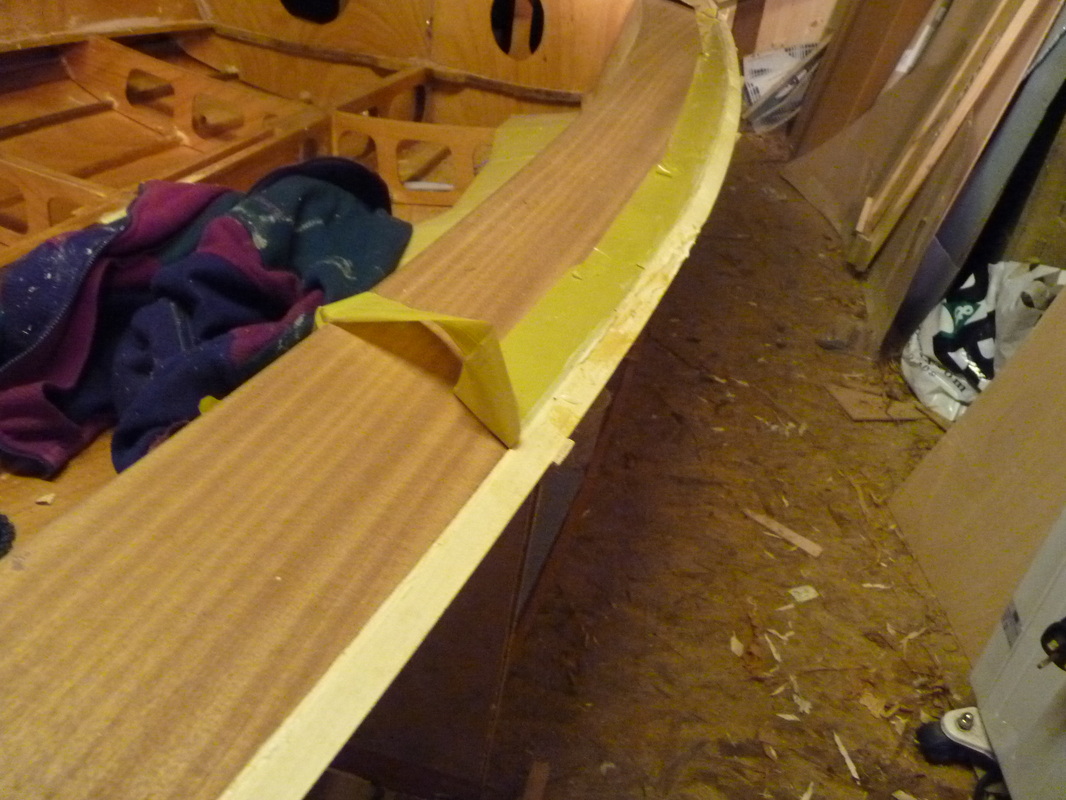
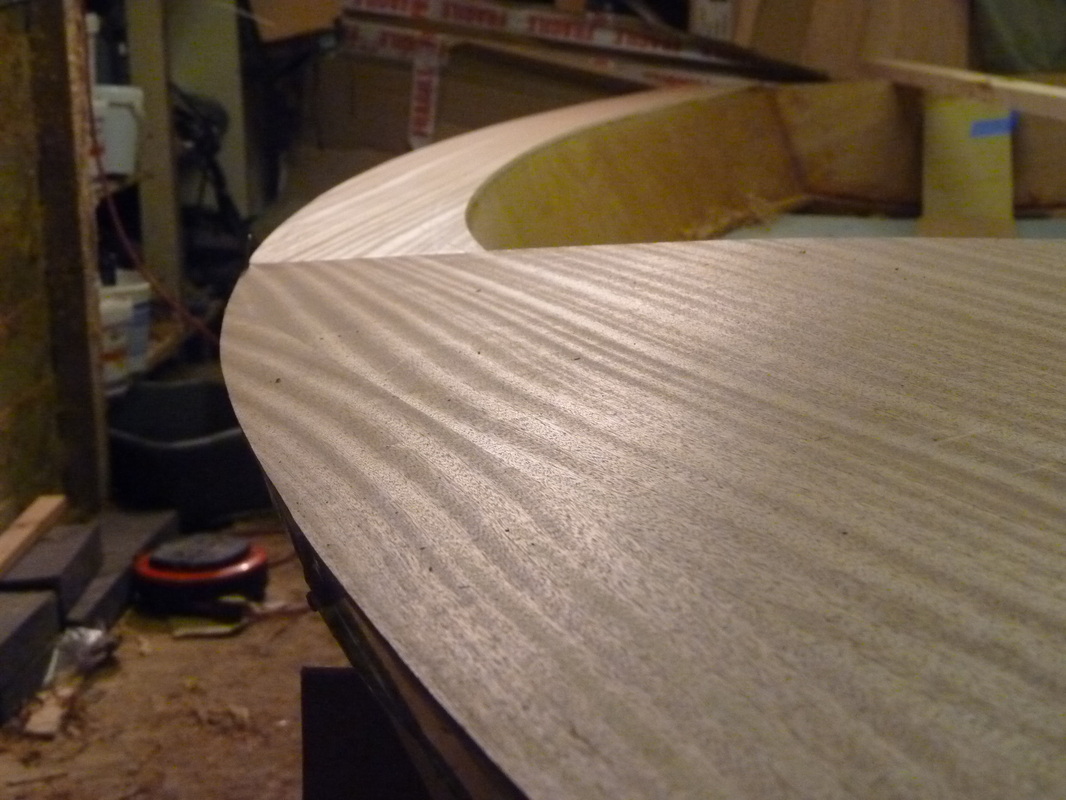
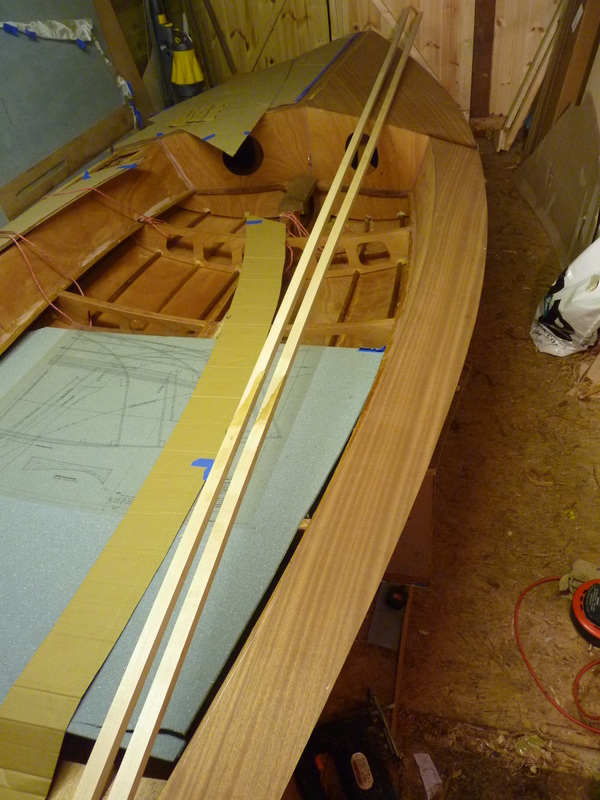
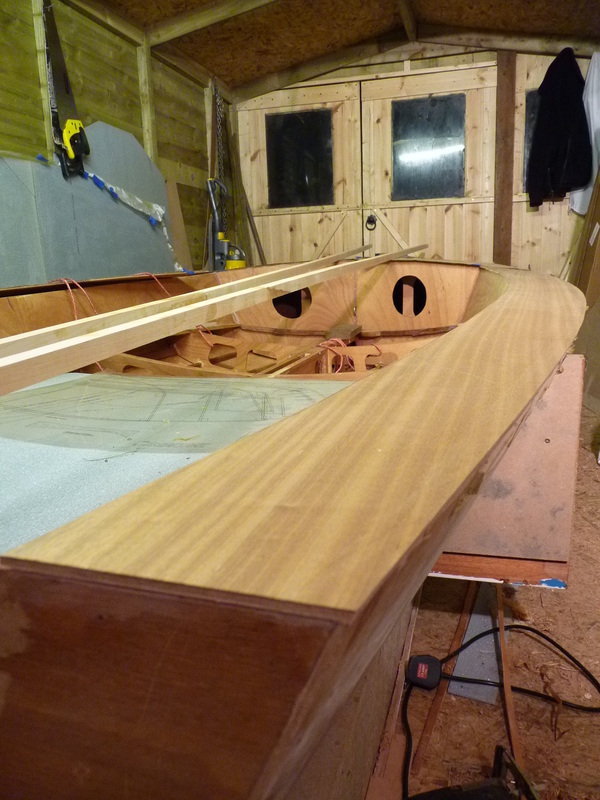
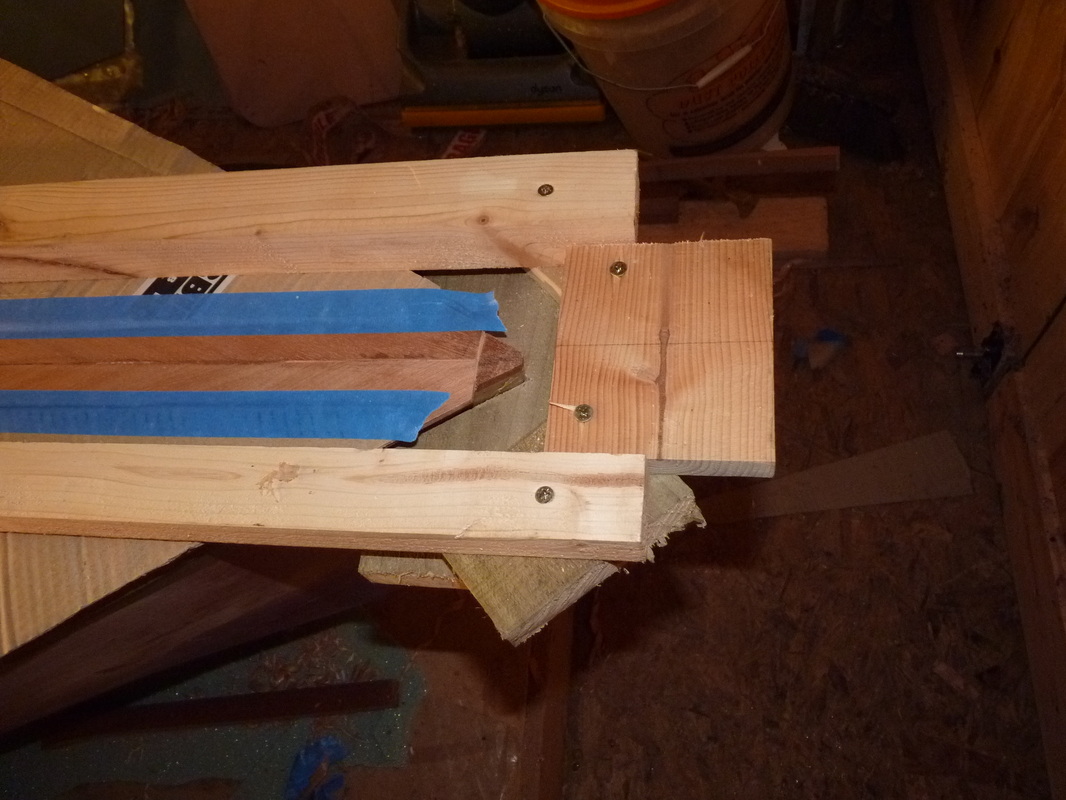
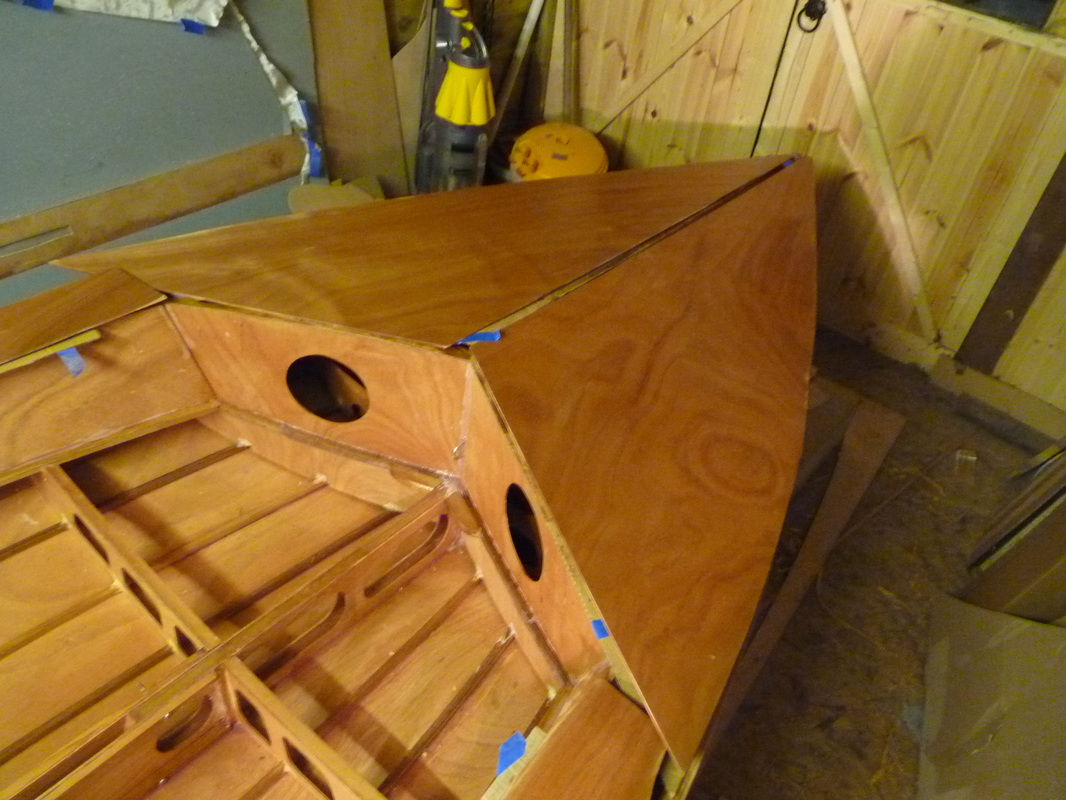
After weeks of trial and error, lots of pondering how to do this, and rubbish wet and freezing weather, I've finally got one of the gunwhales fitted. I wanted to shape the gunwhales into virtually a triangular section and having struggled to bend the full section to fit the hull I decided to cut the approx section first. Had to buy a new table saw tool first though ! (Sarah's away, so I'll need to ask for forgiveness when she returns : ) ) 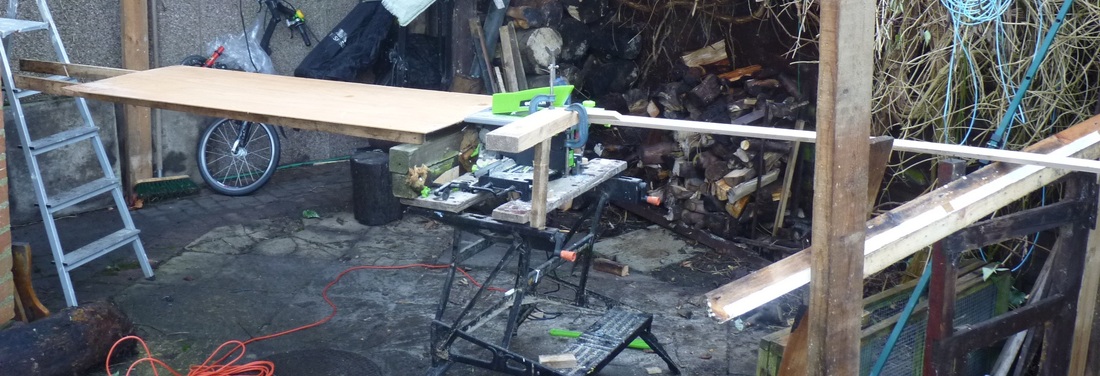
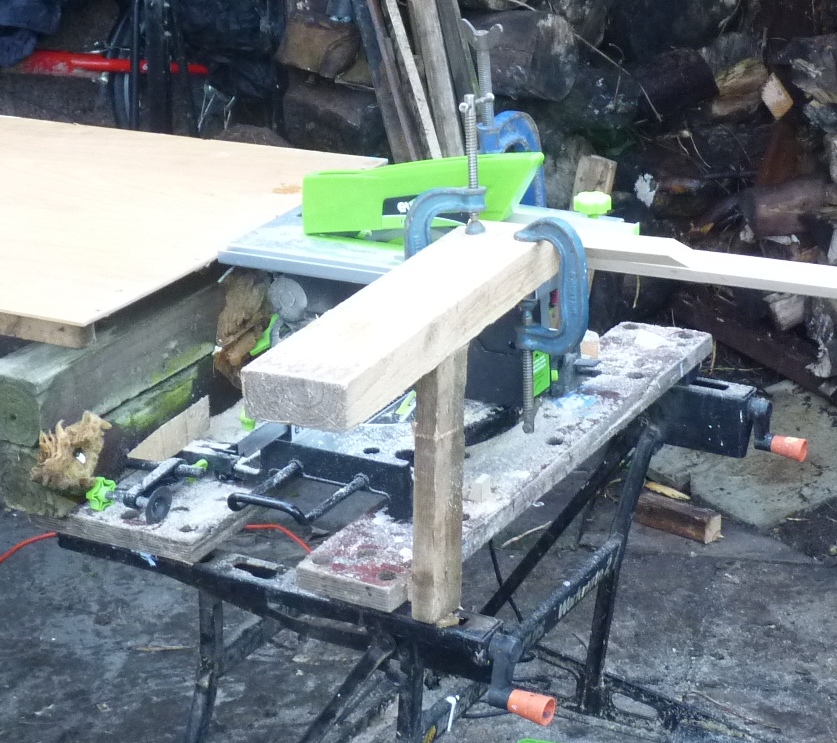
Unfortunately the saw I chose didn't have a tilting table so I ended up spending ages measuring, cutting and rigging up angled fences to hold the gunwhale, and supports for the 4m long timbers. This worked out pretty well except that I'd already steamed the stb gunwhale into a curve, and half way through the cut the curved length flopped sideways and made the cut a bit deep.
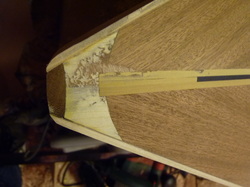
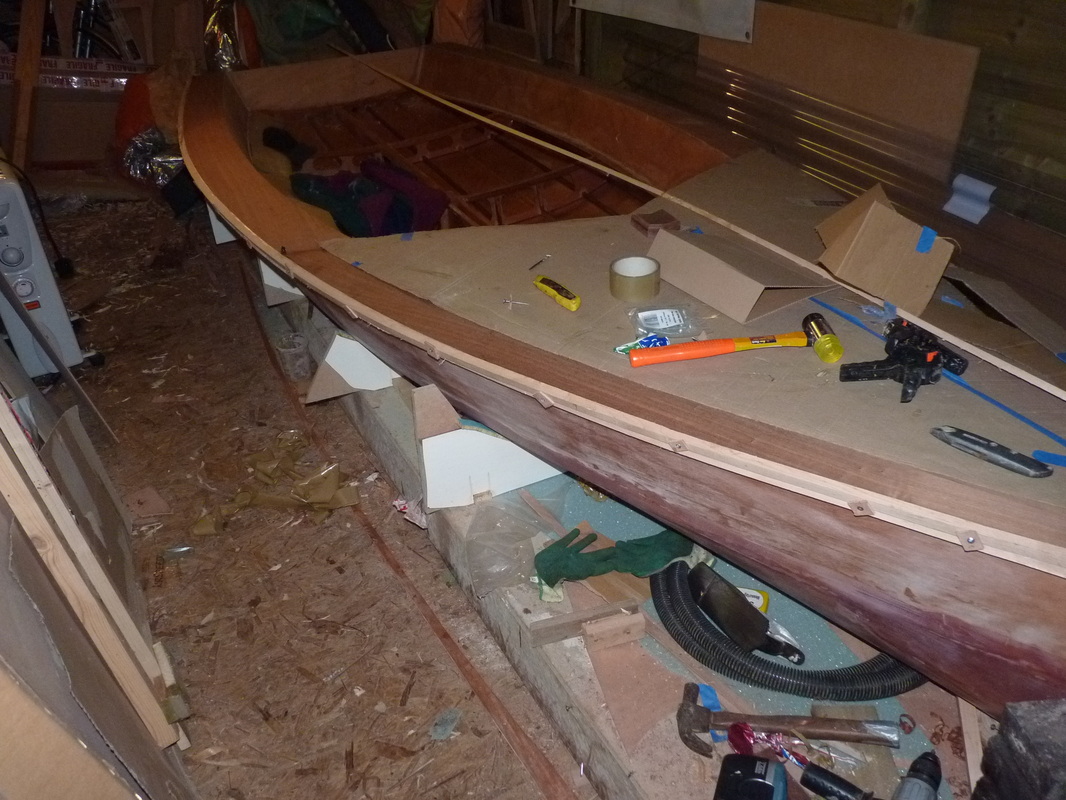
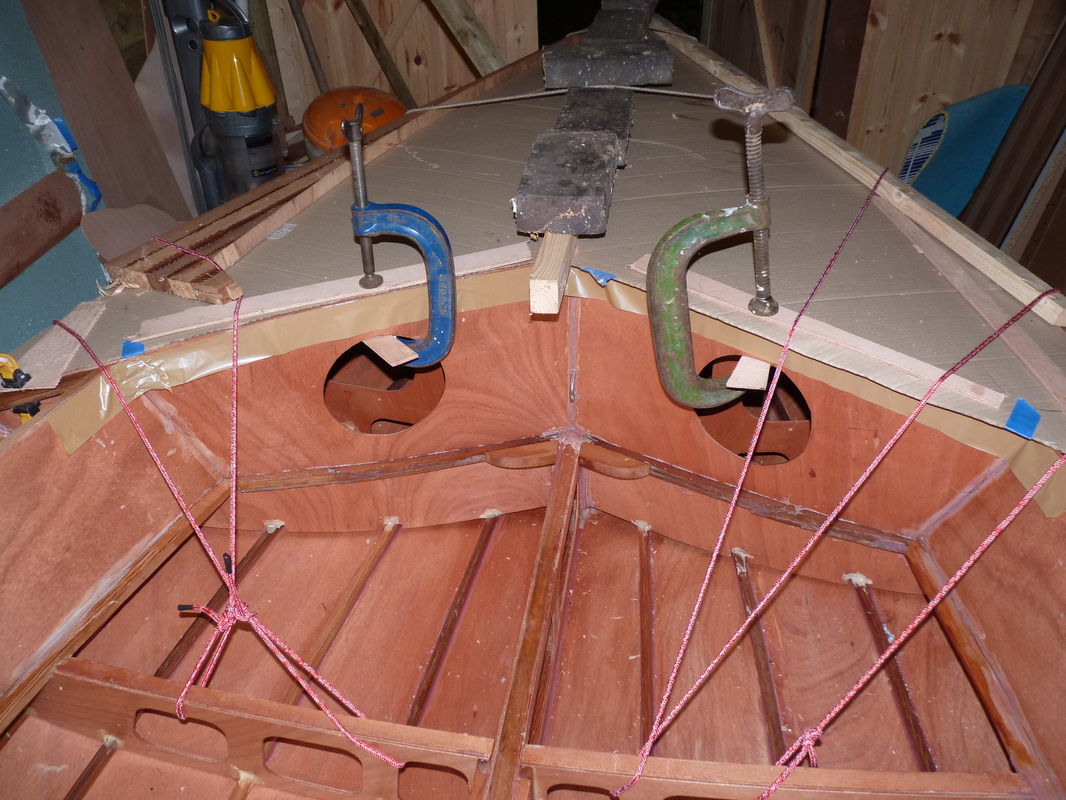
I've temporarily screwed the gunwhale to the hull, using the the long waste piece I trimmed off with the saw to retain a square section to screw through. I used packing tape on the deck, and peeled this off while the glue was still wet to clear up the excess. The G cramp on the end was needed to proved the right amount of twist to match up with the hull.
Phew - gotta do it all again on the port side now !
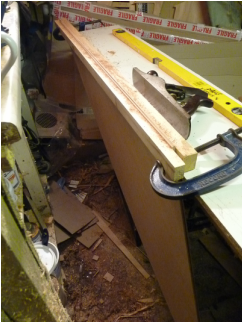
So far so good. I've started prepping for the next challenge, fitting the gunwhales. I ordered some nice lengths of white maple to boader the dark deck panels. I could only get 3m lengths so first have to splice them. I made a simple jig to help clamp and plane the angles. 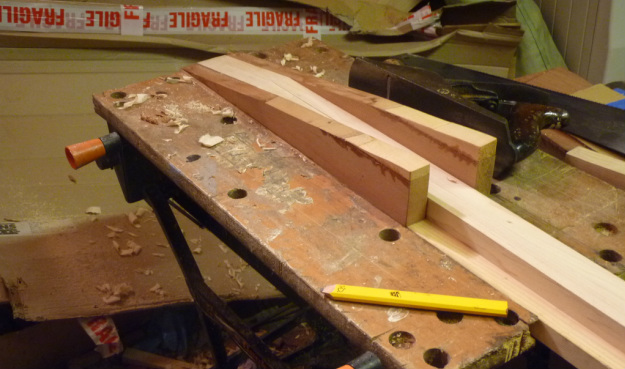
I still have to glue down and trim the side decks but then need to work out how to fit these gunwhales ? The maple is much heavier and harder than I expected and likely will need steaming to fit. I don't want to use any fixings though so am really head scratching how to clamp them in place while the epoxy sets. Also not sure how much shaping to do before fitting ?
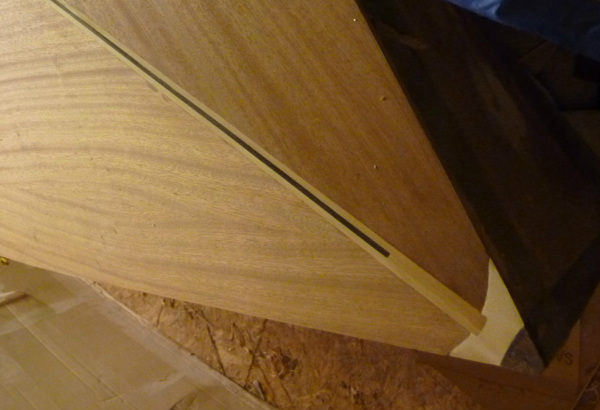
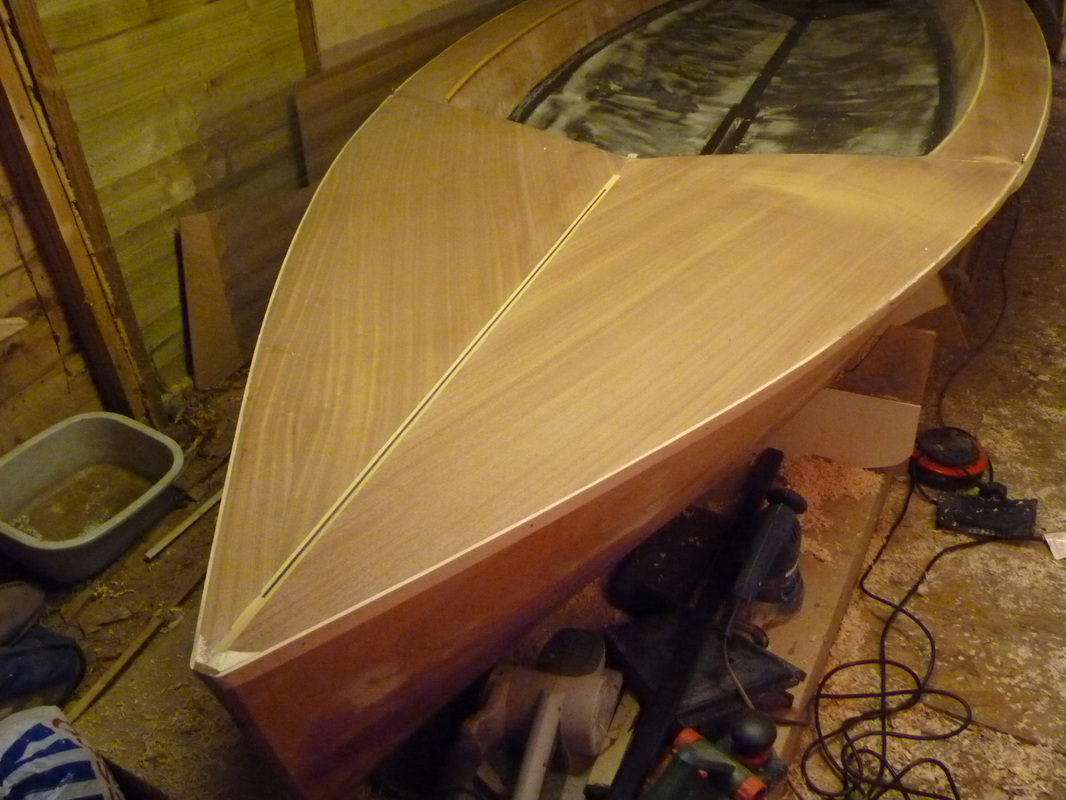
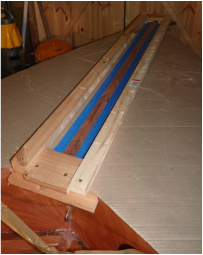
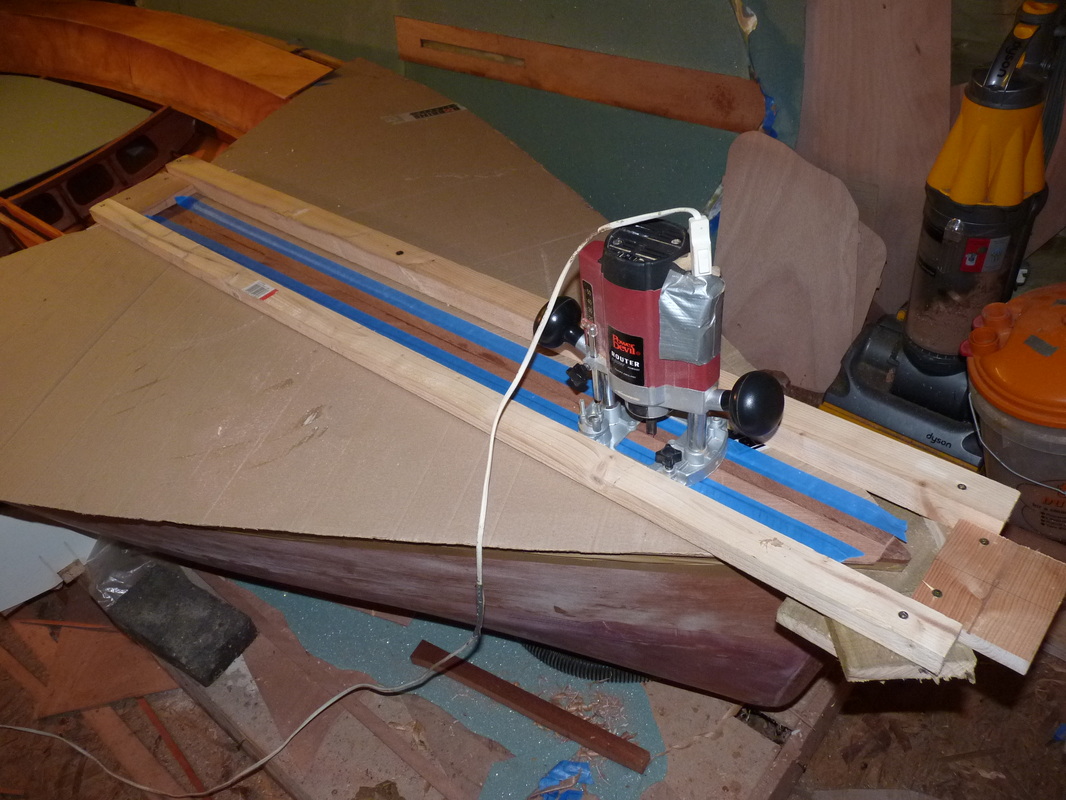
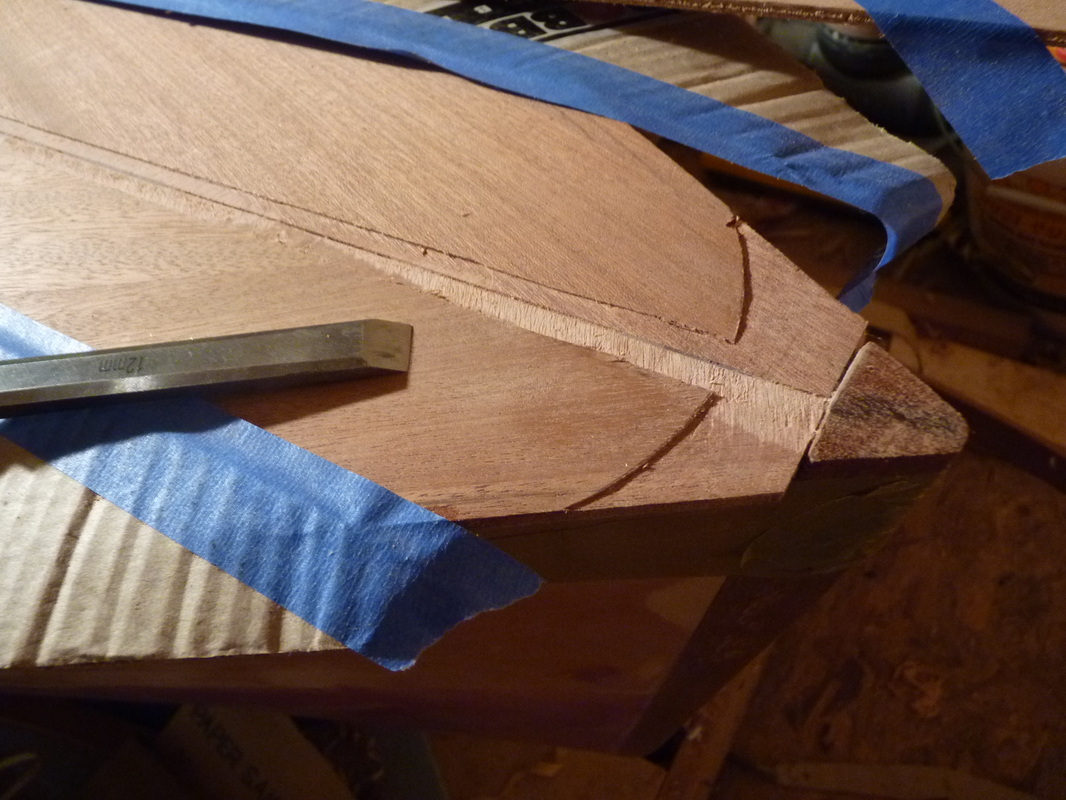
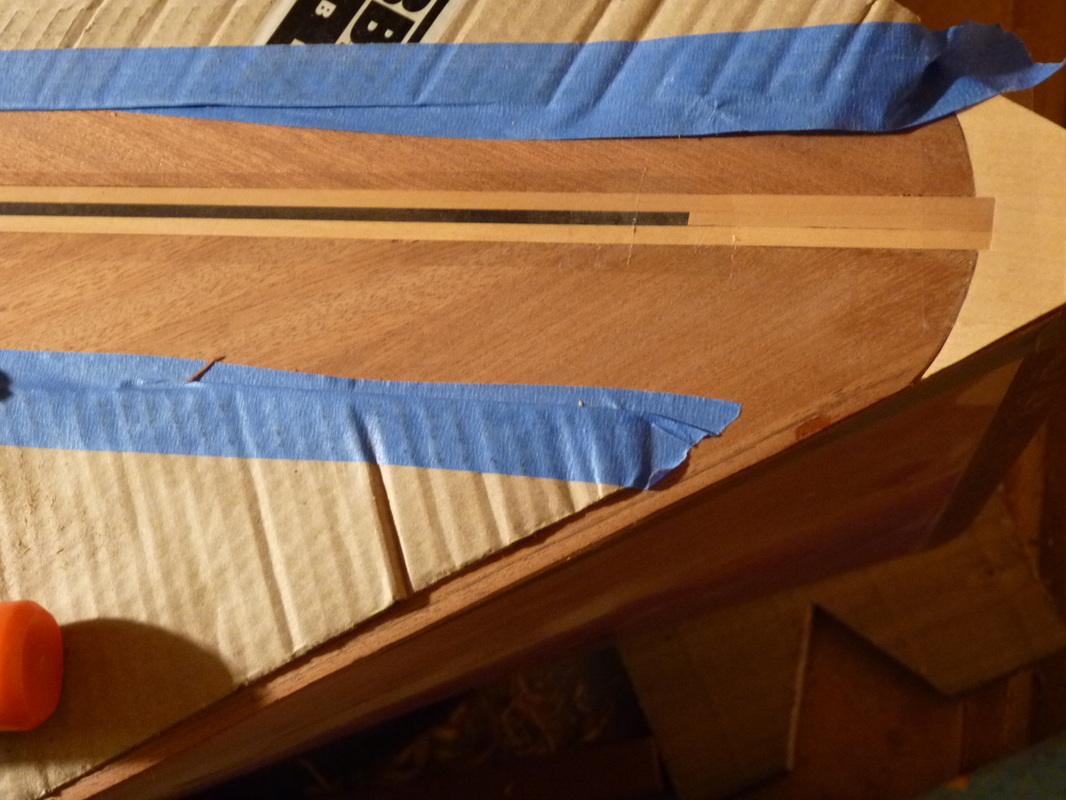
I wanted to add a stripe down the centreline of the foredeck. I'm not sure of the best way to do this but chose to use veneer. I started by building a jig to rout a shallow groove, clamped tightly between the stem and the cockpit
Routing a shallow groove down the centreline. Was tricky to get an exact depth all the way along and I ended up carefully chiselling the high points. I tried cutting strips of some veneer sheet I had around but couldn't maintain accurate widths of the strips so ended up buying some lengths of inlay banding. Of course these were slightly wider than the routed groove so I spent a few hours with a stanley knife trimming the groove to the correct width before glueing the inlay strips down.
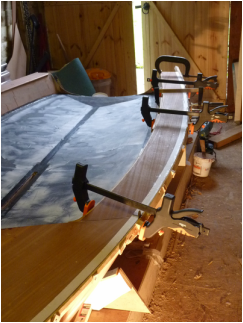
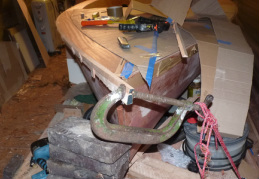
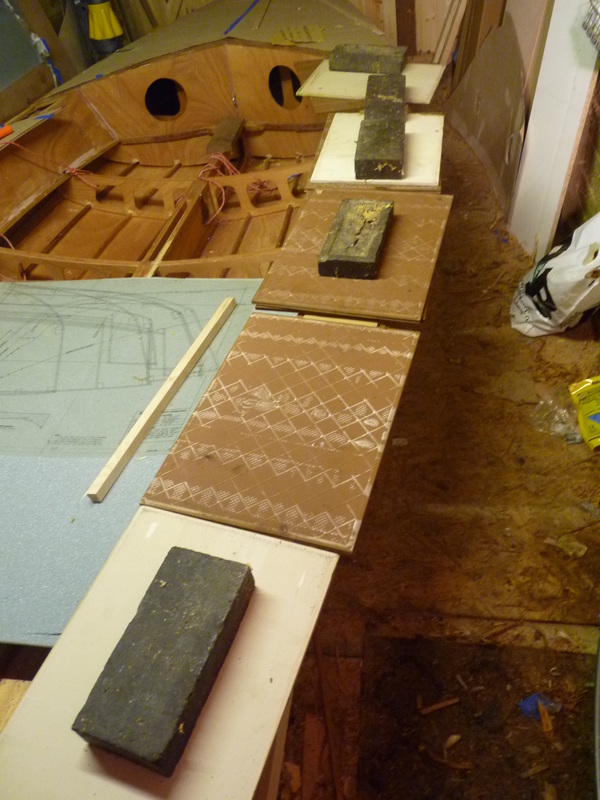
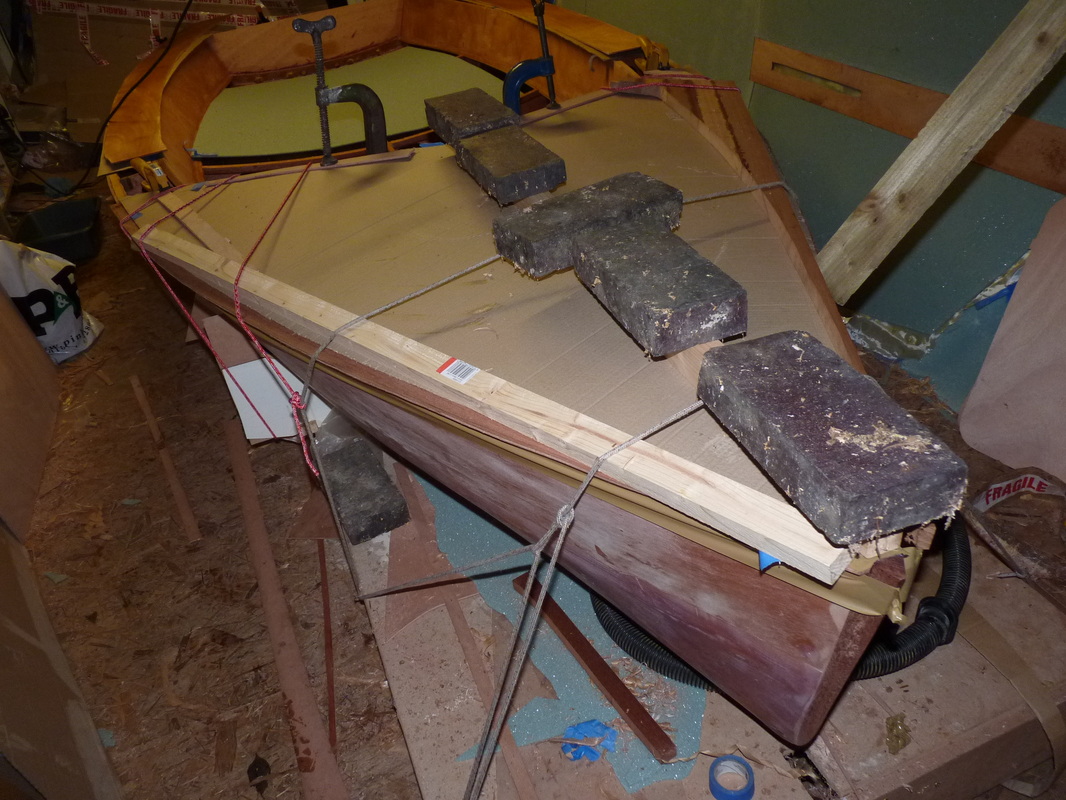
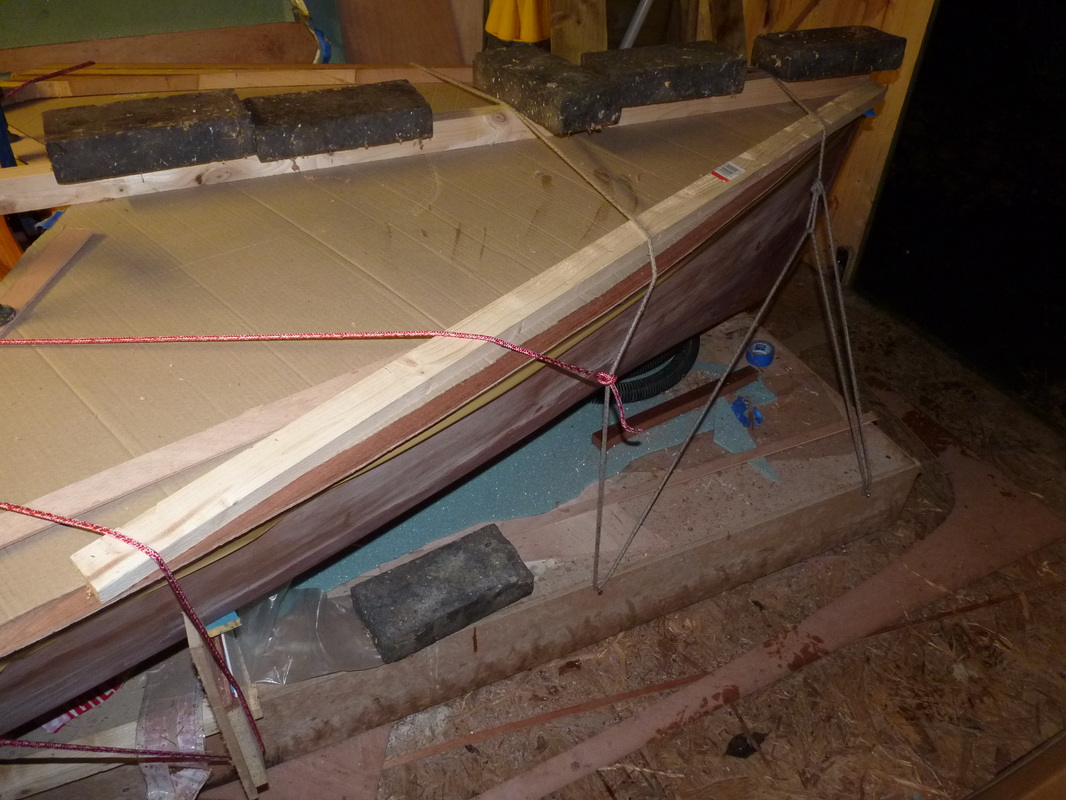
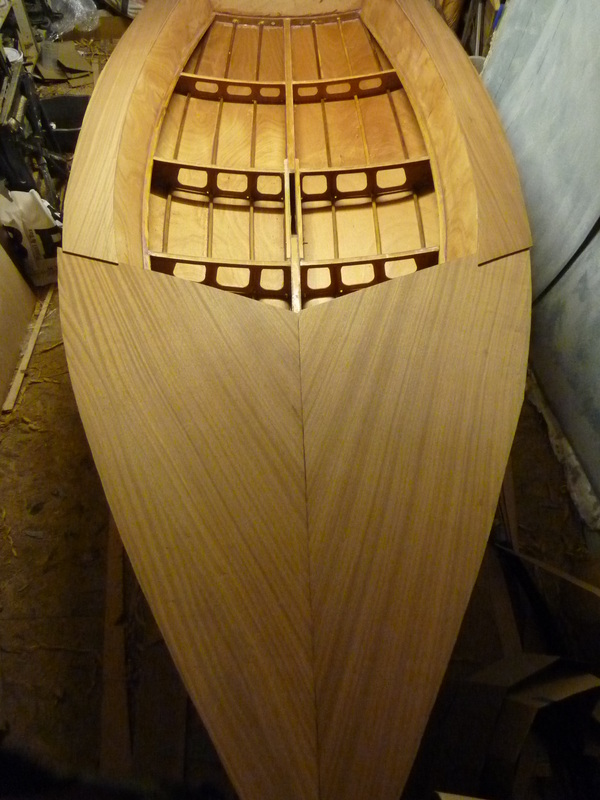
After dryfit playing around with clamps, bricks, chocks and lashings, I took the plunge, mixed up some glue and stuck the foredeck down. I fitted both halves at once, gaffer taped together along the centreline, and then repeated the clamping process - bit of a lash up, I hope i
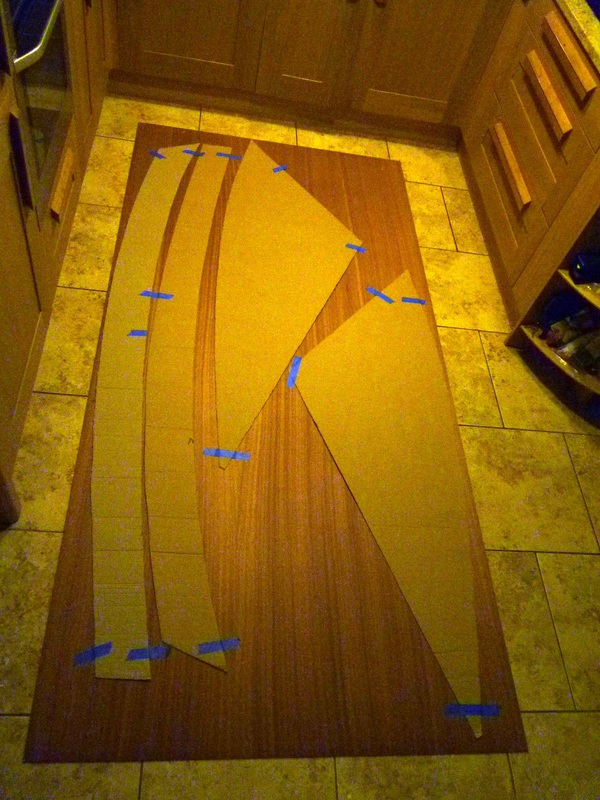
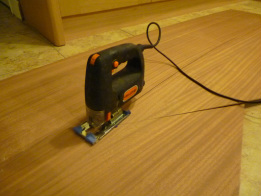
Back to the kitchen floor to cut the deck sheets
|
Archives
November 2016
Categories
All
|
||||||||||||||||||||||||||
| Dave's Farr 3.7 project |
|


 RSS Feed
